
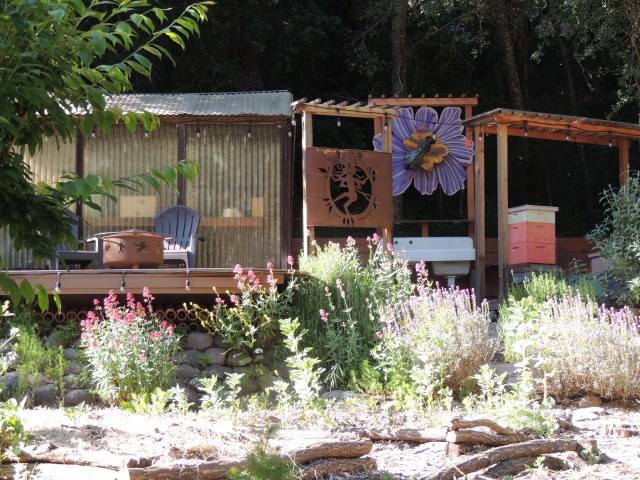
Bee Haven is a home for our bee hives. It is an outdoor platform with an arbor and corrugated plastic roof to protect the bee hives from rain. The most exciting part is planting a perennial bee garden with lots of herbs since bees love oregano, rosemary, etc.
Originally, two colonies were relocated from Sunnyvale in 2009, and the hives were placed around the heritage apple trees. They did not receive time or attention, and the colonies died out in early winter.
In April 2012, we moved two new hives closer to the garden. We wanted to add protection from rain and wind and keep the supplies near the bees. We enjoy watching the bees spin and twirl patterns in the garden.

New hives on deck waiting for their new home at Bee Haven. April 4, 2012. Queens released.
Saturday, April 7, 2012: Framing a box
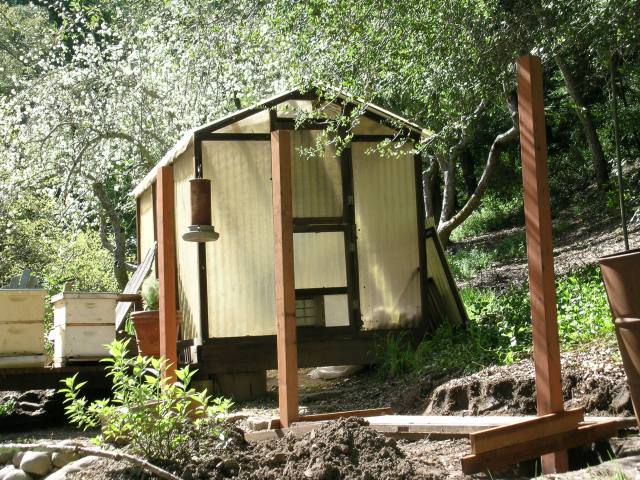
Three redwood 4x4s cemented in place.

Two more 4x4s were added, and the bottom of the box was framed. It was raised off the ground for water to flow underneath.
Using recycled door to measure the exact space. The door is actually the top of the box where the hives will sit.
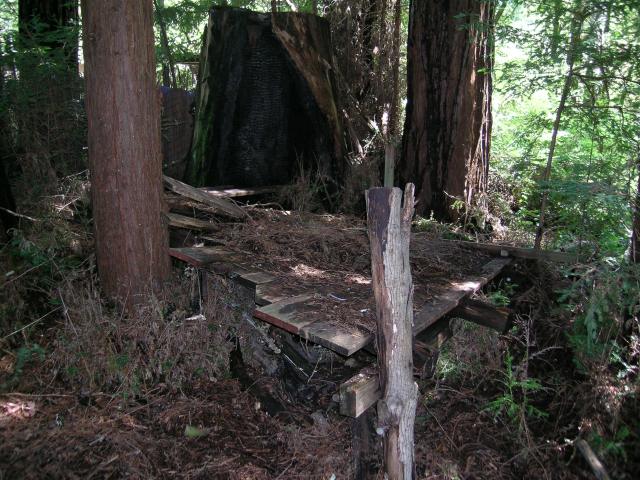
Saturday, April 14: Recycling planks from old tree fort
Probably 20 years ago, the former owner built a platform deck in one of the redwood groves. The platform rested on the top of an old growth, burnt out stump. The tree platform partially collapsed when a black locust fell on it in 2005, and then in 2012, we finally had the support beams sawed in half to use the lumber.

Sunday, April 15: Sanding, Staining, and Framing
Recycled redwood was turned into beautiful pieces of lumber, with sanding and staining.

Redwood planks cleaned off and drying in the sun after a week of spring rain. Most of the lumber was rotted.
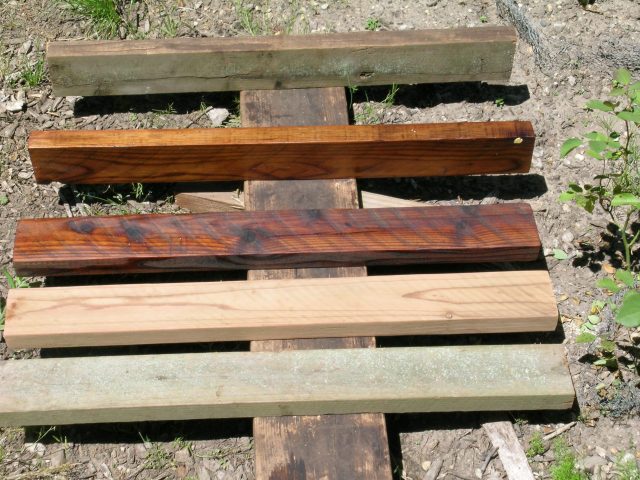
The difference in patina after being sanded and then stained.
Friday, April 29: Building the sides
The bottom of the box was built with the recycled redwood 2x4s that were in pretty good shape. They made a colorful pattern all laid out together. The box needed to be strong and sturdy since bee hives full of honey weigh 50-80 lbs. each. This structure has to hold up to 200 lbs. Also, it’ll be used to store boxes and supplies.
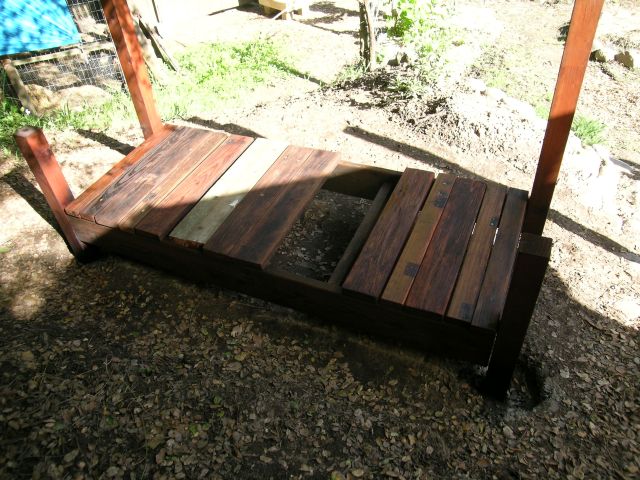
The 2x4s were the hand rail on the platform and were in the best condition. The brackets and screws were also reused for this project.
Friday, May 11: Completing Interior Box
The sides were made from 2×6 and 2×8 planks, and these larger boards were more rotted which required a lot of time and energy to make the boards look refreshed.

Friday, May 18: Swarming Season
Hives colorfully painted, and one honey super added to each hive to prevent the colonies from swarming.

Friday, May 25: Adding Victorian Door
A heavy, recycled redwood door purchased from Urban Ore in Berkeley was used for the top shelf. The door was originally purchased for inside the house, but plans changed, and for eight years it was stored in the garage for future use.

The box size was designed to fit the dimensions of large supers.
Because most of the large 2×6 and 2×8 lumber was rotted, and it’s rewarding to use up materials stored in the garage, the idea came to mind to cut up an old Victorian door which was the exact length to fit snug on the front of the box.

Monday, May 28: Finishing Box
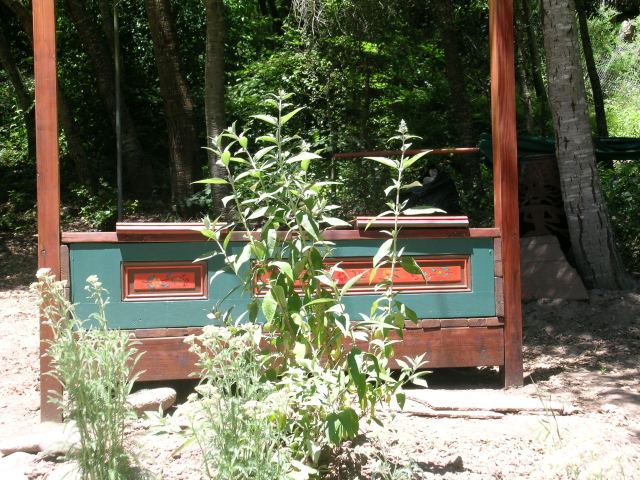
The old Victorian door was painted to match the door colors on the house and the Cordwood Masonry Studio and stenciled with flowers and leafs. Little stands were also built and painted so the bees would have slanted ramps to walk up to the hive.
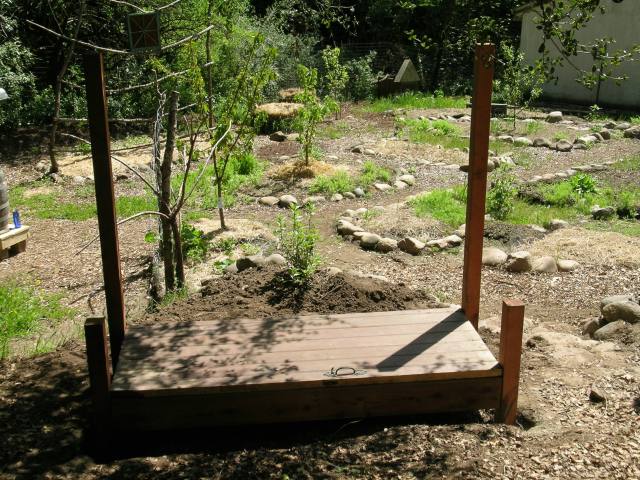
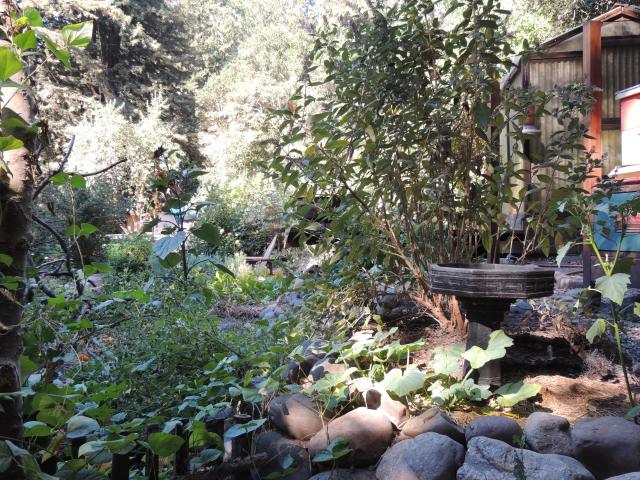
Tuesday, July 3 and Wednesday, July 4: Designing the Landscape
In front of Bee Haven, we added a couple of new planter beds for herbs and flowers. In front of the structure, a pathway was created to make it easy to walk in front of the hives to add sugar water and other maintenance issues.
Plots dug out and extra soil dumped into the chicken coop
Next, line with gopher wire.

Add weed barrier in the walkway.

Add gravel to the walkway and border the plots with river rocks.
Sunday, July 8: Moving the Hives
Bee expert Frank Carrier advised me to move the hives in the middle of the day. I thought at night when they were all inside, but he said it would be better when they were out and about, plus, they aren’t that dumb to not find the hive. Well, there were a lot of bees flying around trying to find the appropriate hive.


July 2013
February 18, 2018:
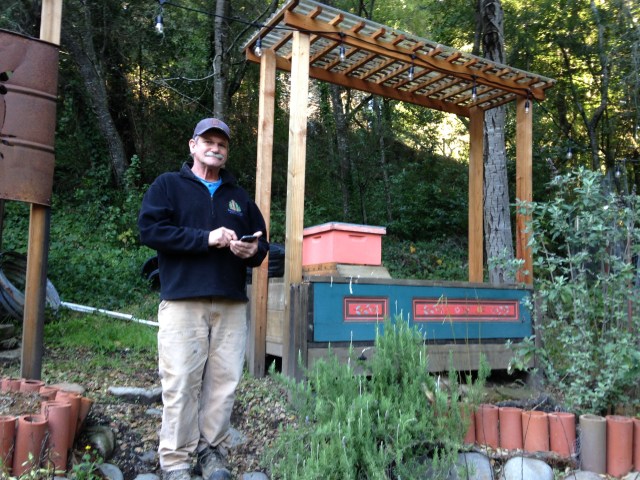
Six years later and Bee Haven’s arbor was completed. The first step was raising the height of the 4x4s by cutting them off and replacing them with four 4x4x8′ redwood beams. After adding the supers to the hives, I realized the beams and roof top would not be high enough.
On the right side, we removed a single 4×4 that was also too short and replaced it with two 4x4x10′ redwood posts to build a trellis.

Rich, our carpenter, had a great idea to cut up a burn barrel and use the metal for an art screen.
In May 2018, we started two hives from nucs. We are hopeful that they will do well over winter.

February, 2019:
Over winter 2019, only one hive survived. I asked some questions on Facebook to keep the other hive alive over winter, and a local beekeeper volunteered to help me. He’s been working with bees for 35 years.
Besides feeding the bees 2:1 sugar water and pollen patties, Will told me to remove the top shelf on the stand, that it was too high. Then, he recommended I put the hive on a stand with metal legs to keep out the ants (that are attracted to the sugar water). The final project Will suggested was adding gravel all around to prevent hive beetles and to maintain the numerous oak leaves. It was a daunting project to make all these changes, and I’m glad it was brought to my attention.


It was easy enough to drop down the platform and solve the ant problem. But adding gravel turned into a bigger project because the hillside had been dug out only to the edge of the platform. I decided to have farmhand Will dig back the hillside. Then, I decided to add a retaining wall and really fix up this new space. I’m getting another nuc in April 2019 as well as splitting this established hive. With 3 bee hives comes a serious commitment to maintaining them. The greenhouse has become my workspace which is very convenient.
After the hillside was dug back, a retaining wall was built including filter fabric and drainage. It was built using redwood, 4x4s and 2x8x16 (no pressure treated wood in an organic garden). Yarrow and various local berries will be planted in the berm behind the wall. 4 yards of 3/4″ river gravel were delivered, and local high school student Harles helped with the project.

May 4, 2019 – The first weekend in May, carpenters Rich and Rick came over to install the sink arbor.


It really turned out great. The vintage enamel sink was free, and I used leftover plywood, a metal wasp from the Santa Cruz flea market, and two wood shelves salvaged from my friend’s chicken coop.


After the new space came together, it was time to build a new and improved stand for the bees. This can support three hives and also prevents ants. Cooking oil is poured in the caps, and roof vents slide down to keep the bees from drowning.


In July 2020, I added a Bee Fountain pedestal sink with cork rafts and a small solar fountain!


