
The Compost Bunker was built in 2012 with the financial assistance from a Livestock and Land Program grant through the Resource Conservation District, Santa Cruz County. I attended a workshop and fortunately met Angie Gruys, Communications Specialist for the Resource Conservation District of Santa Cruz County (RCD). She worked with me to schedule a site visit with Slim, and a plan with recommendations was laid out. We learned that nitrates from the horse manure can flow into Love Creek which then goes into the San Lorenzo River to the Pacific Ocean in Santa Cruz. The grant to build the Compost Bunker was focused on improving runoff in a watershed area. We also received funding to build a drainage swale around the corral.
BEFORE: Shasta’s favorite hang out location was underneath a red delicious apple tree. The tree fell, and it became the perfect location for the Compost Bunker.
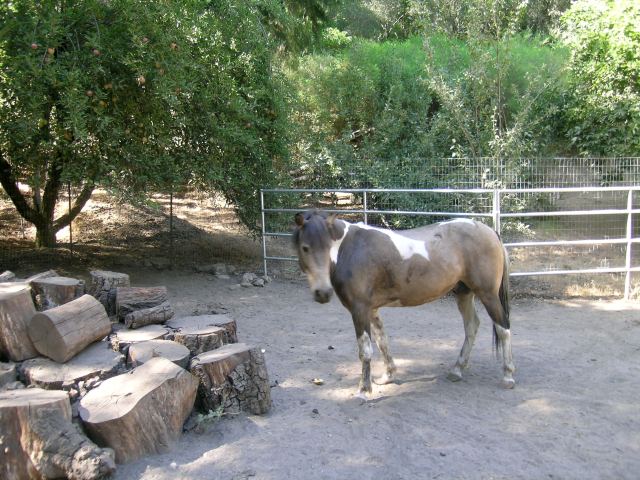
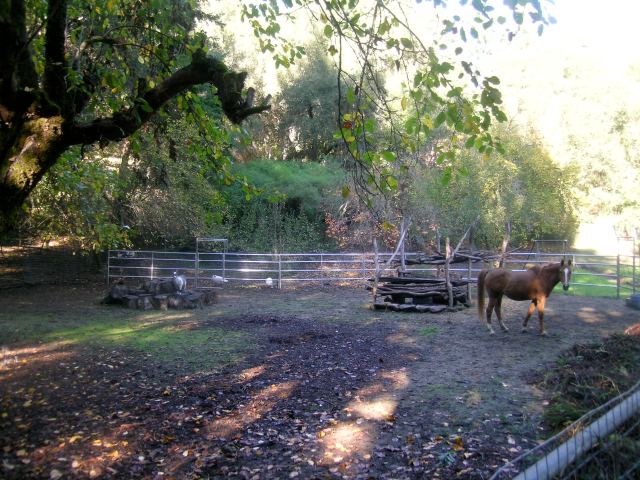
The manure from two horses and two goats was being dumped behind a leaning apple tree outside of the corral. We definitely needed a better way to store and compost the manure that didn’t impact the environment.
Before completing the grant, I did a lot of research on compost stations, reviewing different sizes and designs.


The best size for our space was three “boxes” about a 4′ x 4′ square on a cement pad. Once I read this design, I knew it was the way to go. A step-by-step guide to building horse compost bins.
The funding was able to pay for the construction of the cement pad, and the lumber for me to build it, not including a roof.
On Wednesday, June 13, 2012 Jim Walters Tractor showed up with the heavy equipment to dig out the hillside. Jim asked if we’d be willing to give the soil to Camp Krem for their garden beds. We completely agreed.
Jim, Simon, and Todd worked quickly. On Thursday, June 14, the frame work for the cement pad was built, and the cement truck came in the afternoon. They were excellent in understanding my layout and plans. When I told them how I wanted to build the frame using 6×6 posts, they bought heavy duty post brackets.
The next day, on Friday, June 15, the pad was done.


Now, it was my turn to build the compost bunker, experimenting with the building technique I had read about. I was excited to try it.
I ordered wood from miller Jason Vincent: 8 each: 6x6x8 = $348, 4 each: 4x4x10 = $100, 2 each: 2x6x16 = $48, 2 each: 2x6x10 = $30, 12 each: 2x6x8 = $144, 12 each: 2x4x10= $150, 12 each: 2x2x8.
The building technique required 6×6 post where a 2×2 is attached on either side on both posts. A 2×6 is then slide down between the posts and is held in place without using screws. Perfect!
July 2, the eight 6×6 posts were bolted on, and work started on the back wall.
On July 3, I finished the back wall, and decided to add an artistic touch by including a window in the design. I also started on one of the interior, short walls.
The technique was working really well. Once the pieces were cut and stained, they slid right down saving a lot of time by not having to screw each one in place.
On July 6, I worked all day and finished the last wall at 9pm. It also had a matching window in it.
On July 8, I started cutting the wood for the doors. Three 3′ doors on the front, and three 6′ doors on the back. The doors on the back were purposely made to be higher to keep out dogs or other animals that might attack the goats. Also, the manure is dumped in the front inside the corral and then removed from the back doors for easy transport to the garden.
On July 14, the front doors were finished.
On July 23 and 24th, the back doors were done, and we had to cover the top with a tarp for the final photos for the grant contract. The fence was realigned to attach to the sides of the compost bunker.
We’ve been using the compost bunker for 7 years, and it’s wonderful using redwood. There is no rot or any problems with the manure touching the wood. The wood has changed color. The manure is left to compost in each bin which are full of worms. We have been filling garden beds like crazy, we always have enough compost, even giving some to friends.
Our 2019 project expanded the compost area by building a retaining wall against the hillside and using the back area to store more manure. Eventually, we will build a roof on the top of the Compost Bunker.
