
The Compost Bunker was built in 2012 with the financial assistance from a Livestock and Land Program grant through the Resource Conservation District, Santa Cruz County. We are very fortunate to have a small area to compost the manure, but we needed to expand. In the summer of 2019, the timing was right to build a retaining wall and increase our composting area, approximately 100 feet from the garden.
The hillside had been slightly dug out with a backhoe in 2012 to build the bunker. Over time, the hillside eroded, and wild blackberries became a tangled mess with other weeds.
Farmhand Will Burke cut back the blackberries and Scotch broom. I trimmed the branches on the apple tree, and the space became clear.
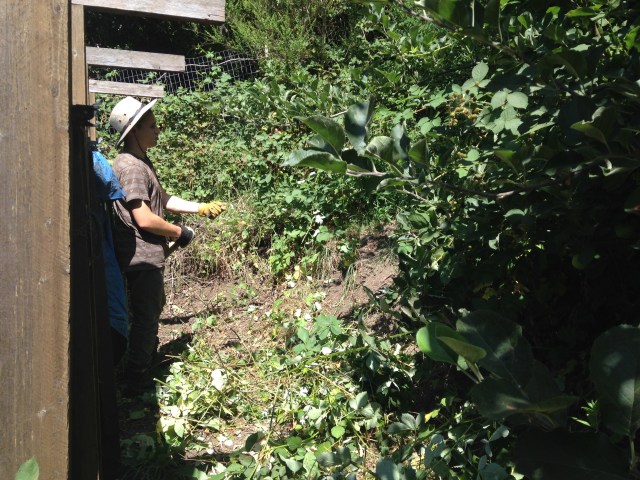
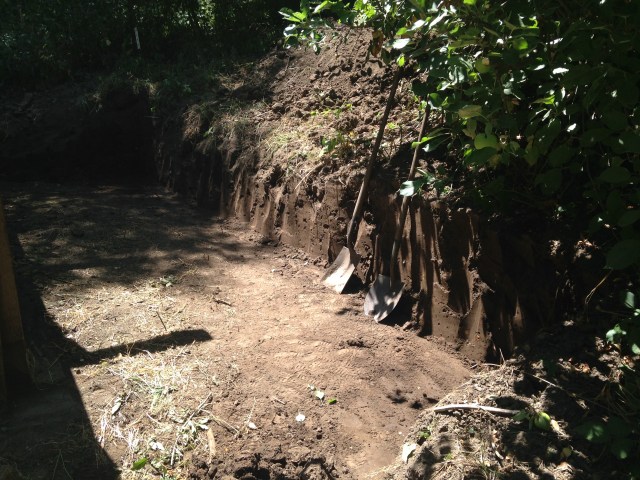
Next, Will dug back the mounds of soil that had eroded, he made a straight wall in the hillside. Now, we had room to work.

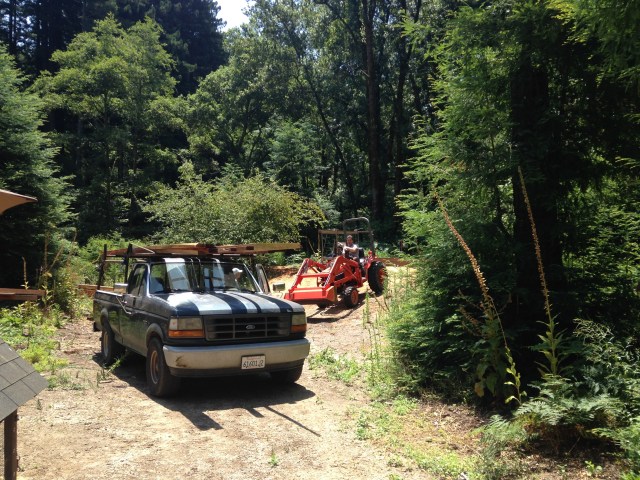
I was very fortunate that our friends Reta and Tim sold us their milled redwood lumber for $1 a board foot. I purchased 4x4s and 2x6s with this project in mind. They let me use their old truck, Gus, and I piled on the wood.
I measured the distance and spacing for the 4x4x7′ posts, with 3′ buried and 4′ above ground. On Friday, July 12, we laid out a long 2×4 as we cemented in the posts to ensure a perfect alignment.

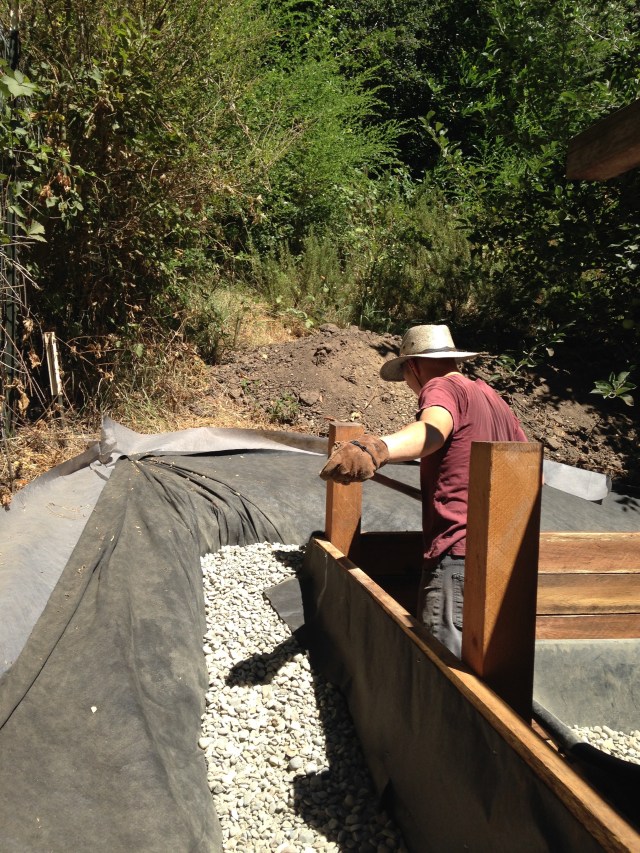
On Friday, July 19, we worked from 10am – 3:15pm to dig a 12″ trench, lay weed barrier and filter fabric, attach the first row of redwood 2x6s and fill with gravel.
The 12″ deep trench was planned so that six inches would be filled with gravel and then the 2×6 would rest on top of the gravel. I decided to paint primer on the inside of the redwood for extra protection against rot.
After the first row of 2x6s was attached, more gravel was dumped behind it. I had purchased a 1/2 yard of river gravel for this first step. Then, more cement was dumped into the holes and around the posts. I purposely left the post holes a bit empty so we could dig the 12″ trench without hitting cement, and the 2x6s would lay flush against the posts.
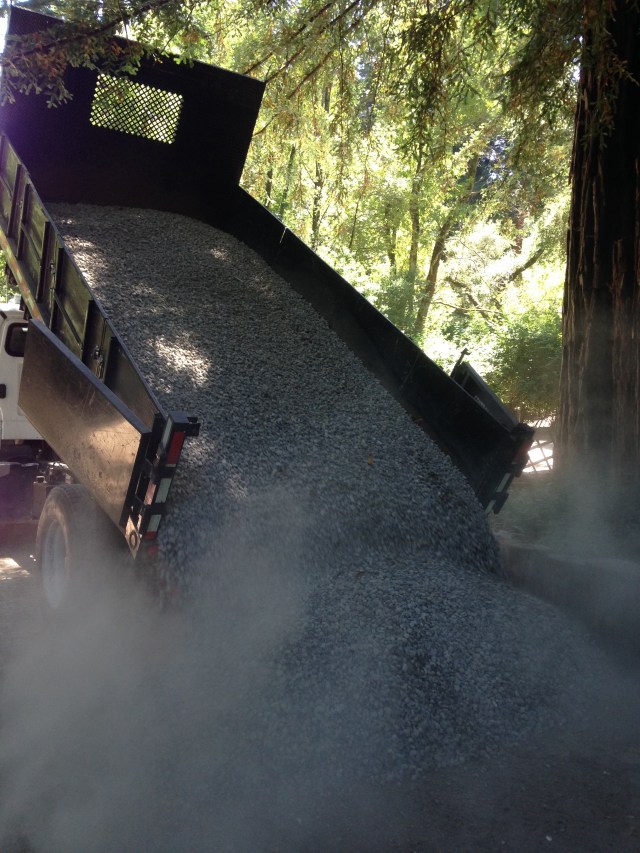
On Wednesday, July 21, 6 yards of river gravel were delivered to gear up for finishing the wall.
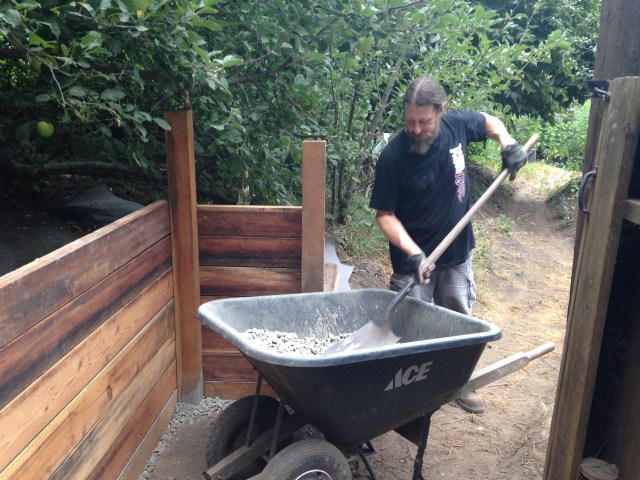
On Friday, August 9, Will Burke and his brother Aden worked from 10am – 3pm to haul gravel. We started by nailing on the roofing paper to protect the redwood, and then sloped the perforated drain pipe behind the wall. Aden was in the trench holding the pipe while Will shoveled in the gravel.
I cut and hauled over the redwood to keep on track with their gravel level.

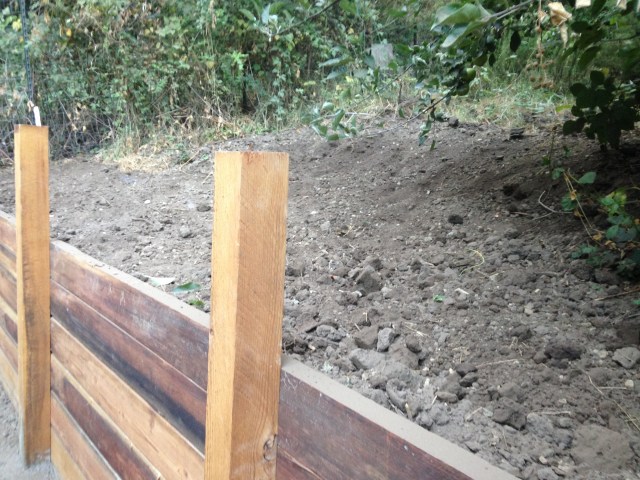
Each 2×6 was attached with a small gap for expansion and then leveled. Then, the roofing paper was nailed onto the next row of lumber. The wall was built layer by layer.

 Saturday, August 10: I started hauling gravel and shoveling it behind the wall around 10:30am. I was feeling inspired because my friend’s 13 year old son was coming over to work. I knew we could get it done as a team. H and I did many loads and backfilled the trench before adding two more layers of 2×6 redwood. I was really happy that we used up all the redwood 2×6 lumber I had purchased from Reta and Tim.
By 3pm, H and I were exhausted. We decided to do a fun art project on the inside wall of the horse corral. I pulled out a long, rusty chain I found when we moved in in 2004. This wall was the perfect place for it. Another rustic treasure turned into an art piece.
Friday, August 16 was super hot. Will and I were able to haul gravel for about 1 hour. I really wanted to use it up the gravel and not fill with a bunch of dirt. I cut more roofing paper and attached it to the upper boards so that all the wood was protected, from bottom to top.
 Saturday, August 17, I recruited Mike to haul the rest of the pile (9 wheel barrows), and he got it done. The weather was cool and overcast so he made great progress.
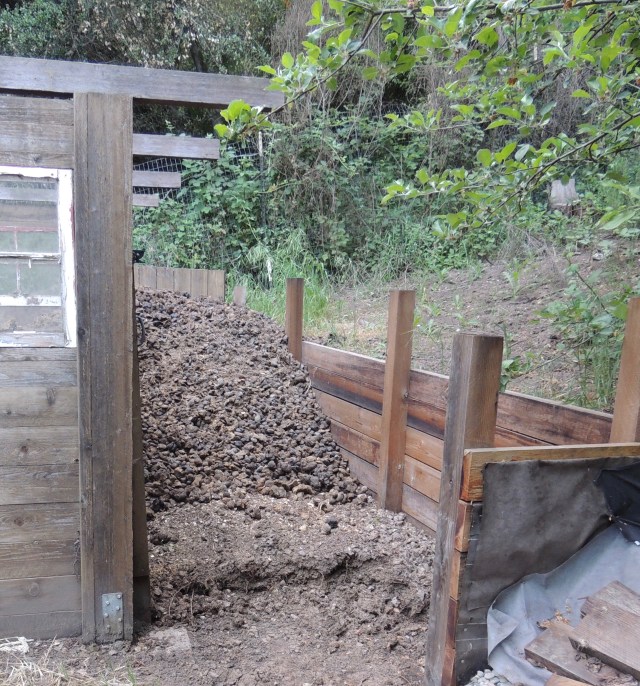
 Once all the gravel was added, I folded over the filter fabric to keep the soil out of the drainage. I left the weed barrier.
The big pile of dirt that was piled up on the hill was leveled out. We are now going to replant rosemary from another area that needs to be moved. It’ll be great in this space.


The space is filling with manure so quickly! Lots of worms.
It’s been a year (August, 2020), and we were able to dig through to use the rich, black compost for a new planting area. Because we are using a passive system (no turn), we fill up over months and then remove.
