After digging up the front planter bed to find the septic lid, we thought about the option for adding a riser. We were told to get the riser from Shelton Pipe in Morgan Hill because they carried all the parts. I had a day off for President’s Weekend in February, so I got all the supplies, planning for it for months. Finally during warm weather, I was able to mortar the tube in place using six bags of mortar. Kyle, the technician from Pete’s Outflow told me how he installs them, at a cost of $600. I knew I could do it, it’s all in the prep.
Make sure the drainage tube is cut straight, and the cement septic tank is super, super clean. I brushed, scrapped the mud off with a trowel, and scrubbed it clean with water and a metal bristle brush.

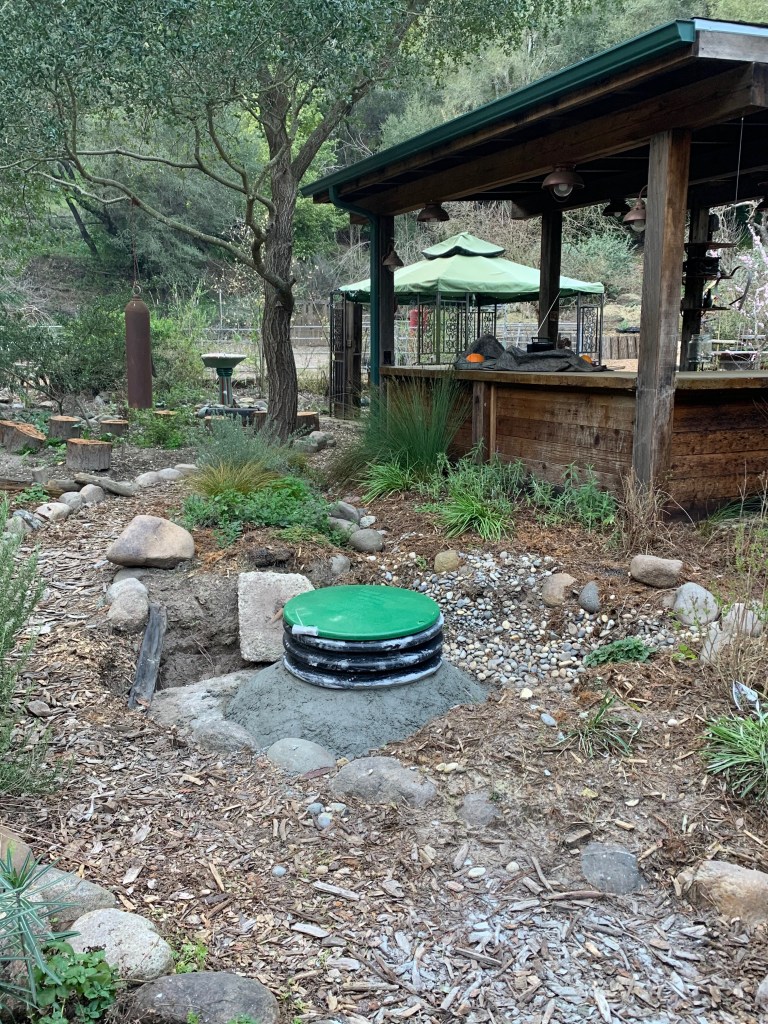
Next, I laid down about a 3″ bed of mortar and added hardware wire strips across each corner of the square hole because the white, round base cut off each corner/laid over it. I did not want a gap so I changed the shape of the lid hole. My goal was to not allow any water to leach under. I took handfuls of mortar and sealed inside the rim as well. You definitely do not want “soupy” over-watered mortar.

Six bags of mortar were enough, even though I bought eight bags. The lid is a heavy duty option (extra $), but I did not want any smells to come through, especially near the outdoor kitchen.
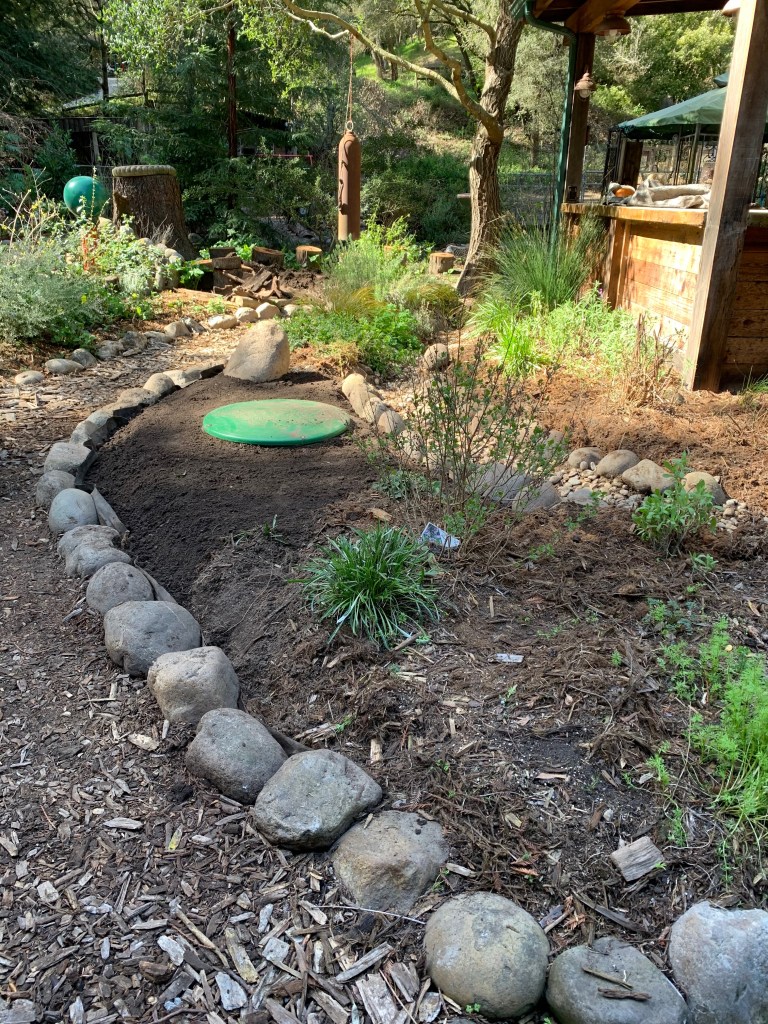
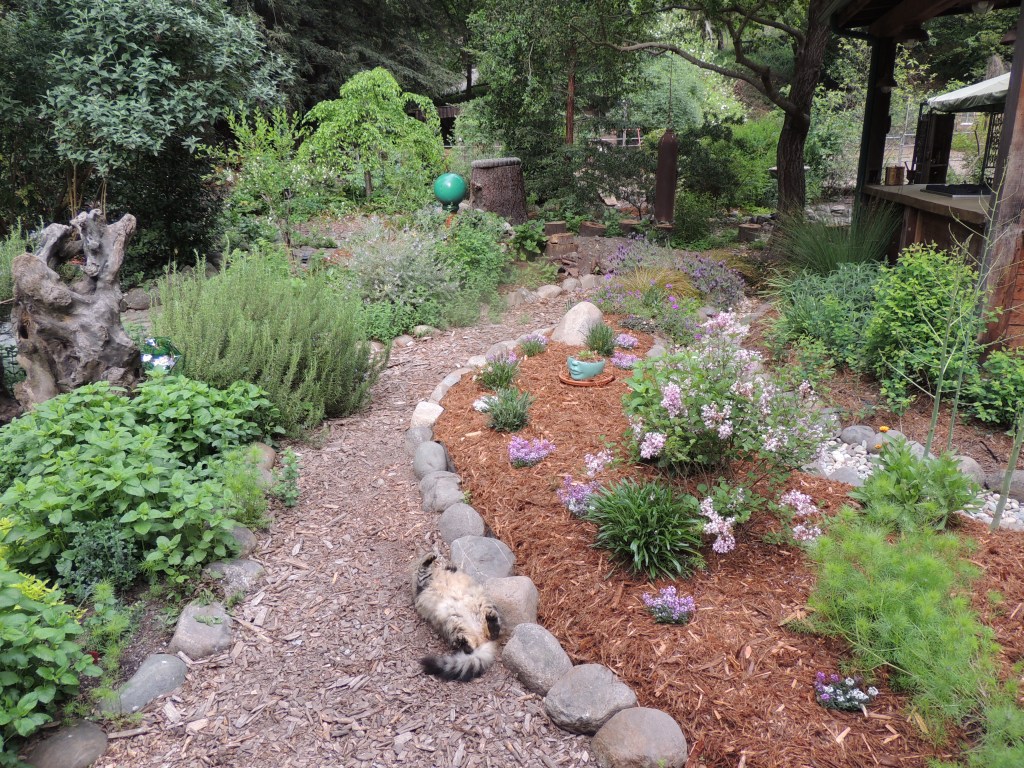
We let the mortar dry for a week, and today we got the hole filled with dirt and the river rock borders added back. We just need to get more plants and gorilla fur to cover the soil and lid. You’d never know it was there! Such a great improvement for future septic pumping, just unscrew the lid.